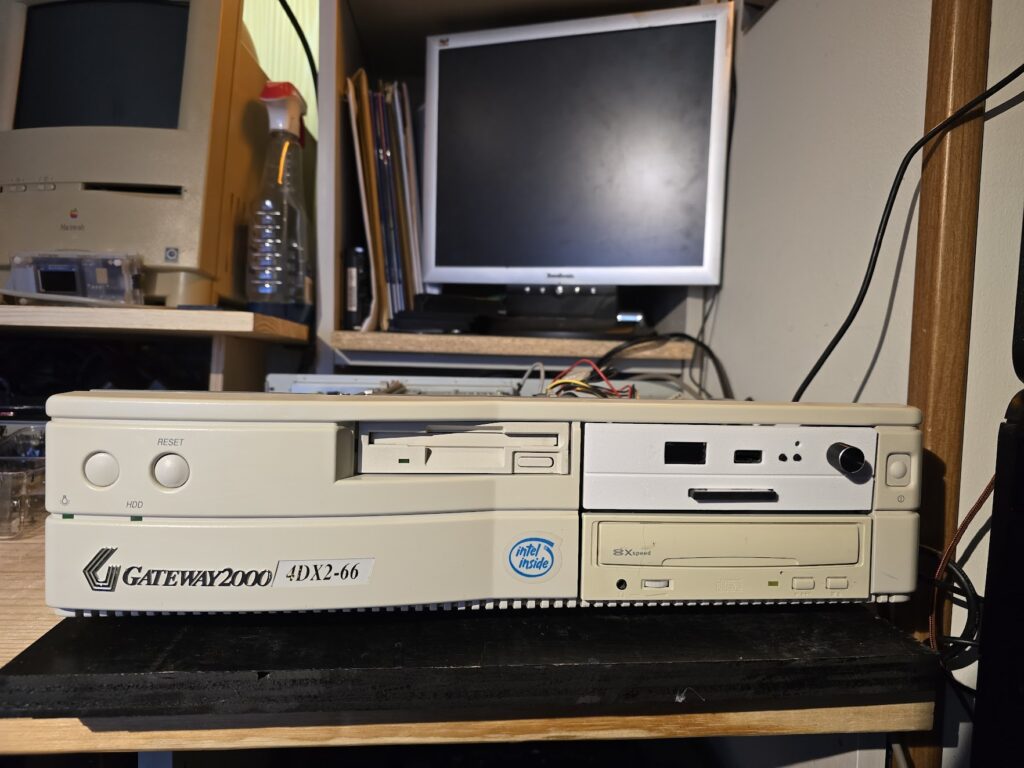
Gateway 2K 486 DX2/66’s
Let me start by saying, long term I am not sure I will keep either of these two Gateways, I will just have to see how it all turns out. The goal for this project is to have an awesome pair of retro systems. I hope to make these highly capable 486 DOS 6.22/Win 3.11 Game/Sound Machines that celebrate the best of what was possible in that era of time. For now I will keep this all in a single post until the build is completed. I will keep updating the article until I have completed the first system and decided on whether to sell it or not. I hope by sharing this to make someone else’s similar journey easier.
I do get out of control from time to time and this is certainly no exception! I watched a lot of YouTube videos and saw a gentleman who had a Gateway DX2 66 he was sprucing up. Googling got me a listing on eBay and so it began.
I started immersing myself back into the world of retro PC’s, lots of 486 Build Videos, etc. This led to finding some awesome sound card videos of cloned ISA cards and getting lost in eBay and more videos on DOS Game Sound Cards.
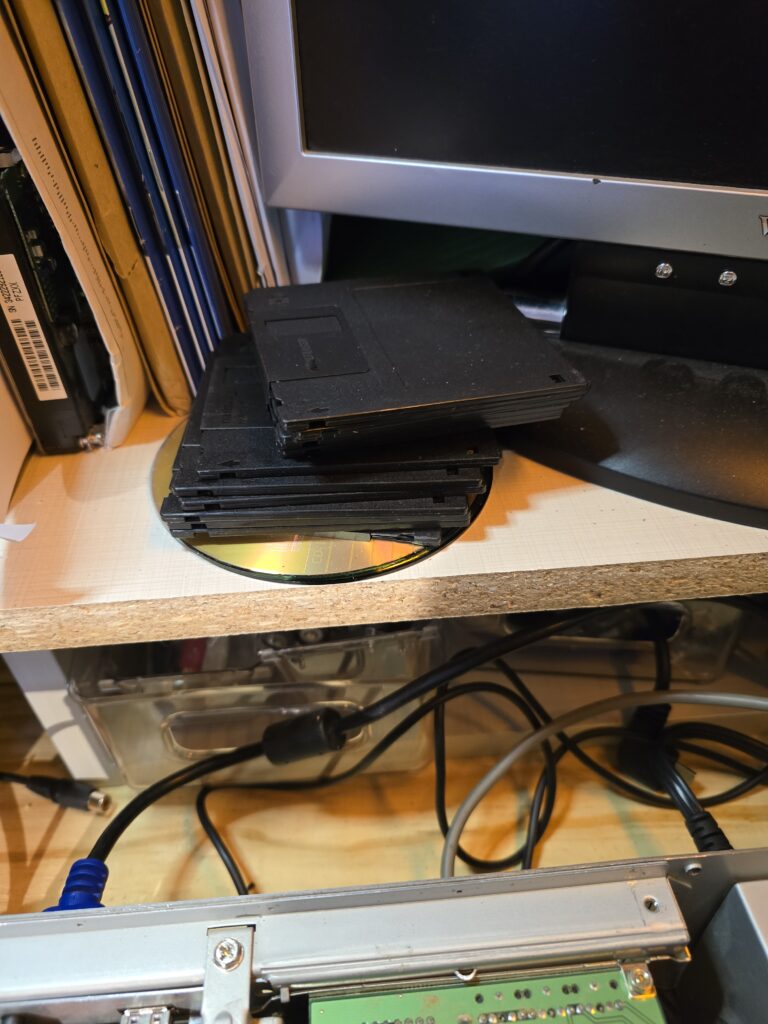
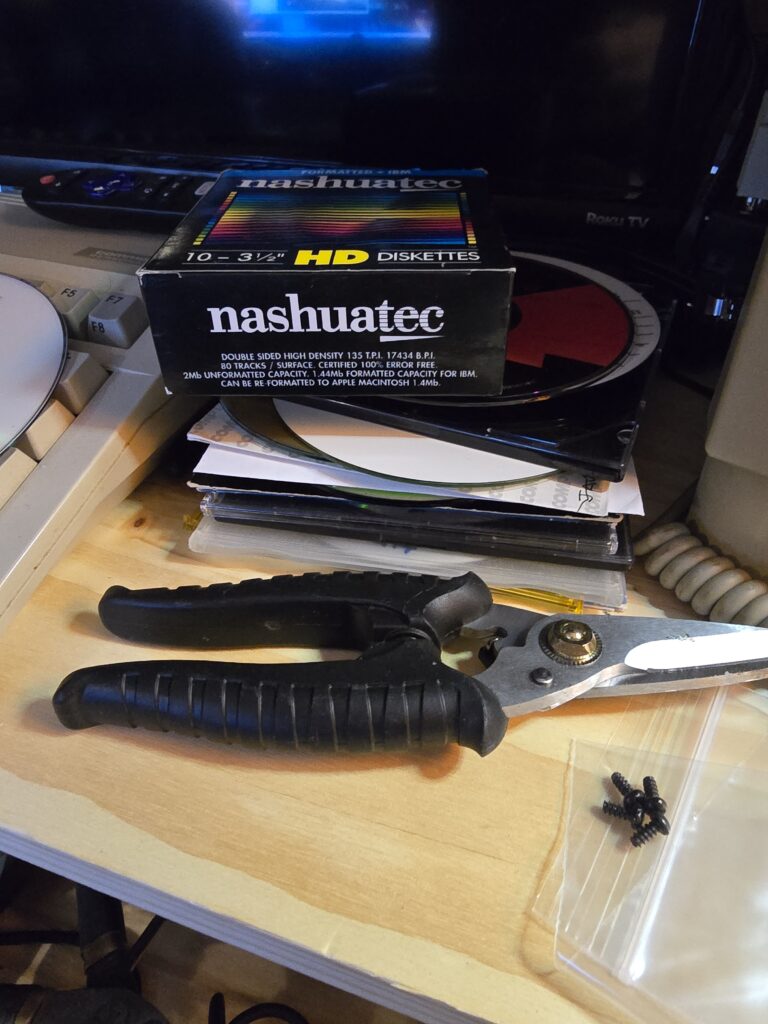
There is a lot to this story so far, its not easy to return to that era in time and relearn everything. PC’s have come a long long ways from the times of DOS. I wanted a larger HD so I went to clone the drive I had with no luck. The drives in those days required manual configuration ion the BIOS for the drive geometry and settings. This led to me removing the original drive for a while, adding a new one from a pile of drives I happened to have kept and installing DOS. Well, this is no easy feat either. I had to buy a USB Floppy Drive for my modern day machine to write the disk images to real floppy disks. I have to say that the drive was horrible. It would produce a lot of errors and forced attempts to write out the simple 4 disks to install. Eventually I just bought a different brand drive and had much better luck with it.
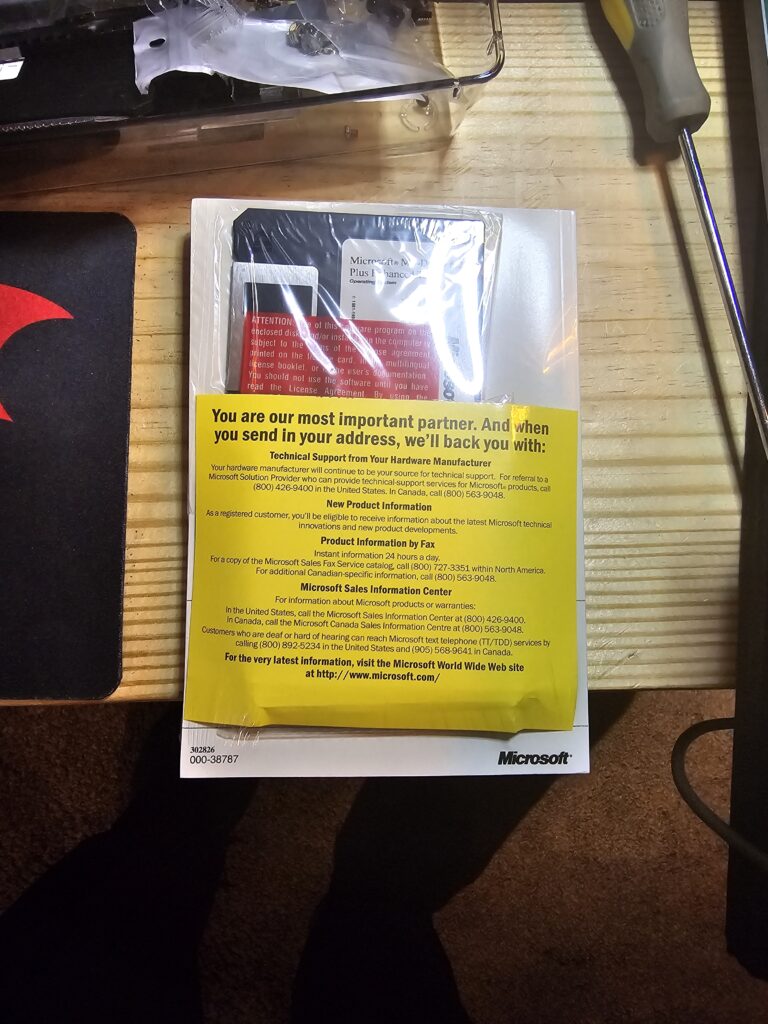
I did also buy a copy of real DOS 6.22 Disks, something I try to do when I can keeping on the ethical side. A lot of people have taken considerable time and care to preserve these artifacts and so for all the projects I have worked on, I have legal copies of the operating systems and a lot of copies of games and utilities I purchased over the many years. I kept all the license keys from software I purchased all the way back to 1998. This was handy when it came to tools like Norton Ghost and others I used in this effort. I very much appreciate the Internet Archive, it has been a huge resource in getting my old software that I simply threw away long ago.
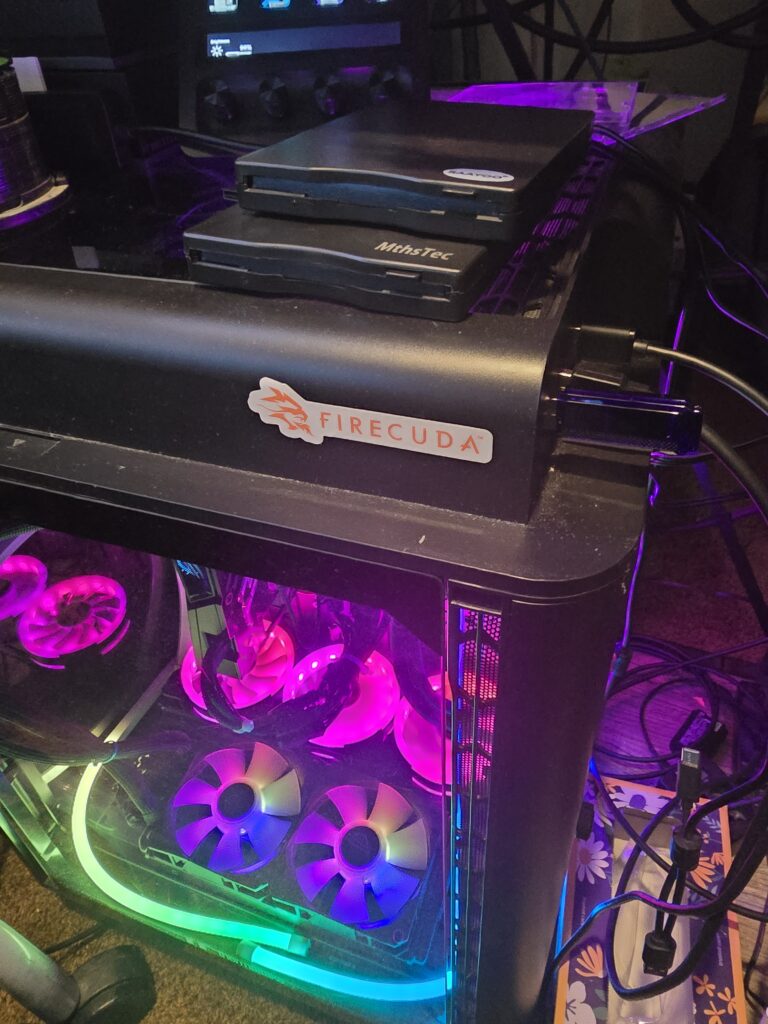
Another issue I wound up having was there was there was no manual to be found online for these Gateways. Looking at the internet archive and taking a ride in the Way Back Machine site revealed that these machines were just right before Gateway started posting manuals and software online for them. I joined some forums, started a post and low and behold someone had that machine, the system CD and Manual. How lucky was that? A very kind person has since uploaded this to the Internet Archive and a search now yields several Gateway OS Disks. This all eventually led to me purchasing another Gateway just like the first from the same buyer. The thought was to build one awesome system from the two and keep the other as a spare in case it was ever needed for parts.
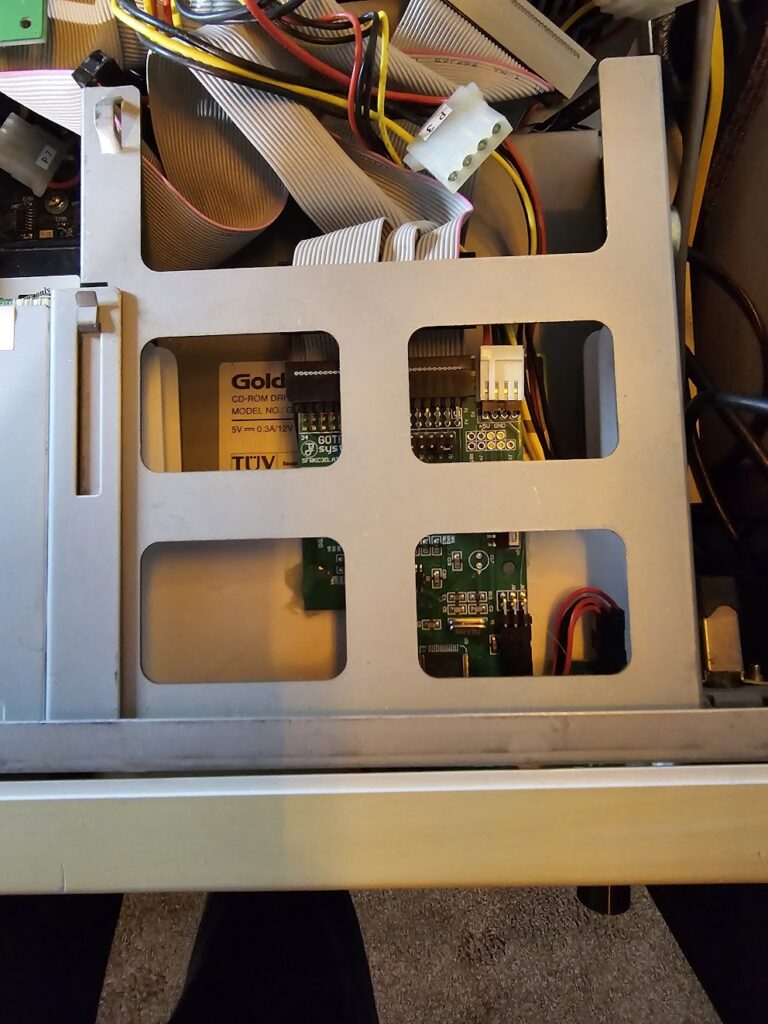
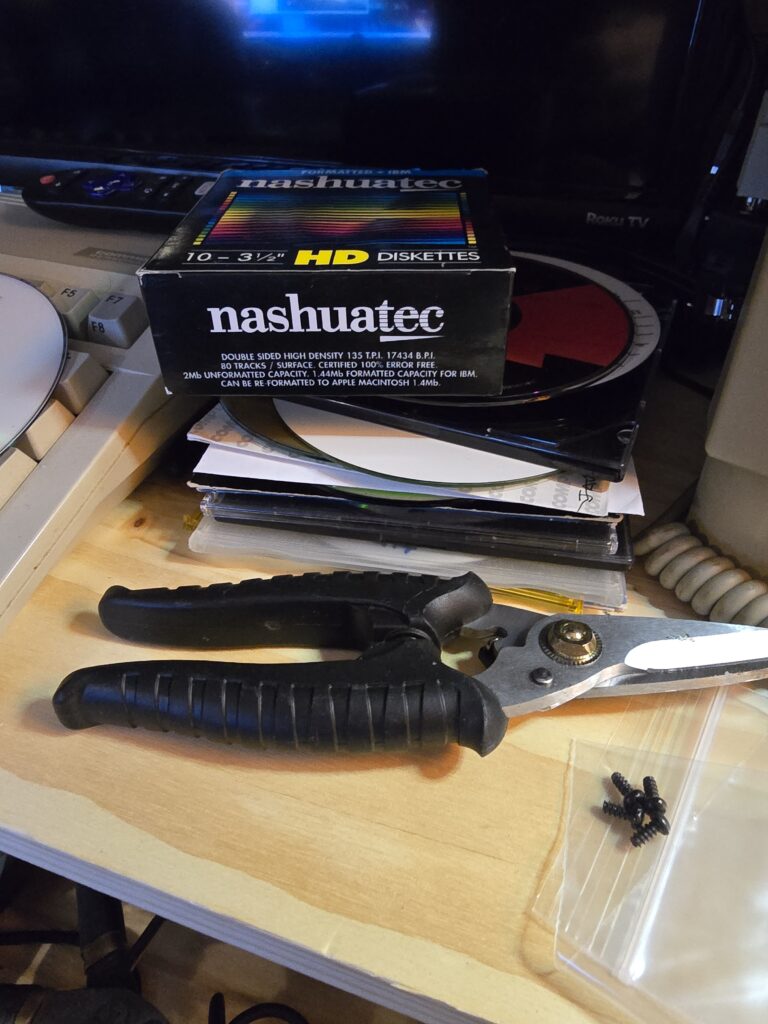
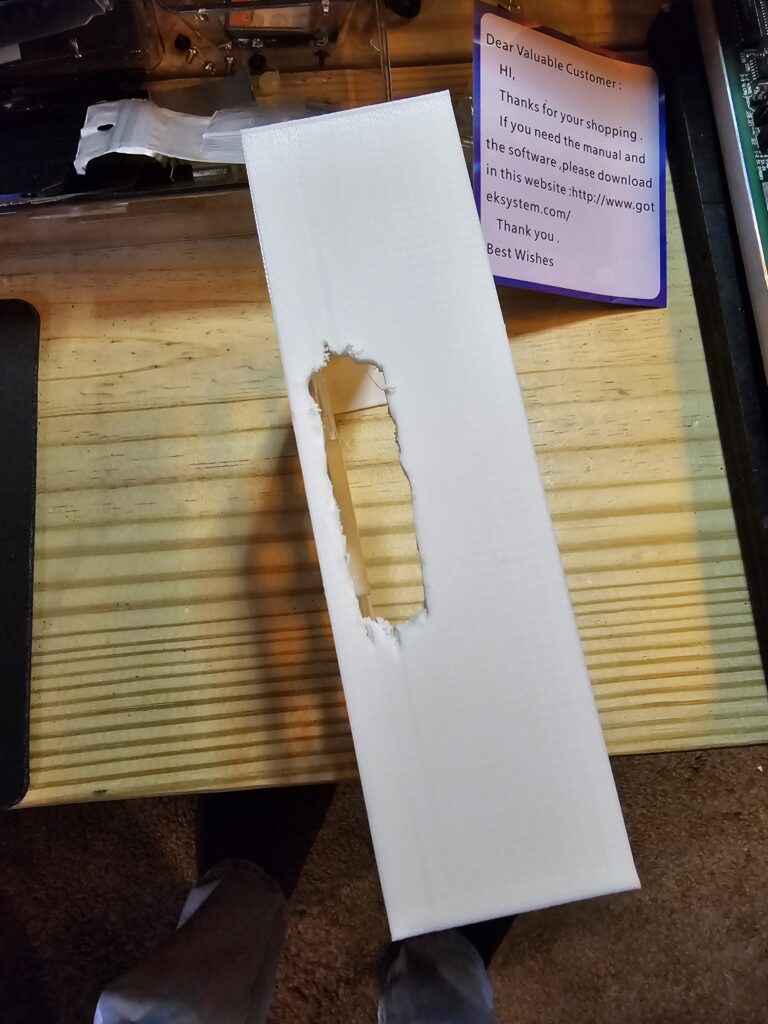
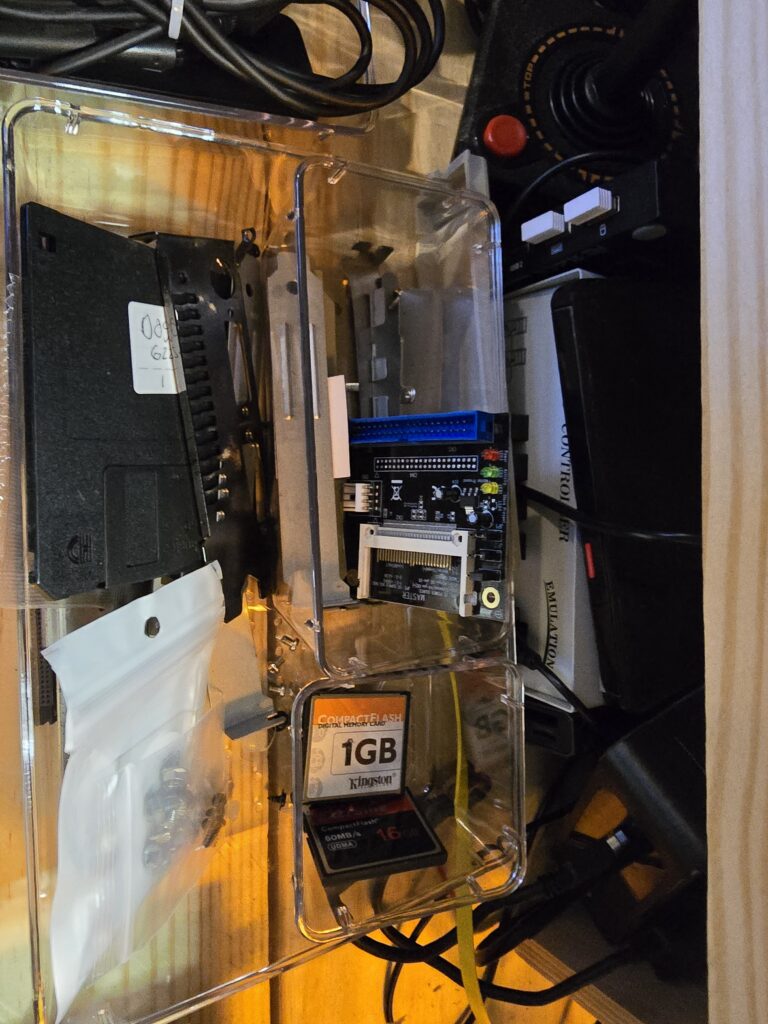
What really tripped me up for a good while on this project was getting a CF Card working. I really wanted to backup the HD before digging in deep. Three different CF Cards Readers later, I finally was able to get one to work. The next roadblock was finding a capable mount for it. This led to ordering some 3D Printed products. The problem then became on of finding something I could live with. You can see I butchered the first two trays I had printed in the pics I have shared. By this time I had decided I wanted to have both the Gotek and the CF on the same 5 1/4 plate. Googling led me to finding just the right 3D print model. This led to another round of 3D printing for a Gotek Combo CF Flash 5 ¼ tray. I used a higher quality resin for the printing given how awful the plastic was on the first round of prints. You can see how brittle the plastic was when I tried to cut the opening out larger.
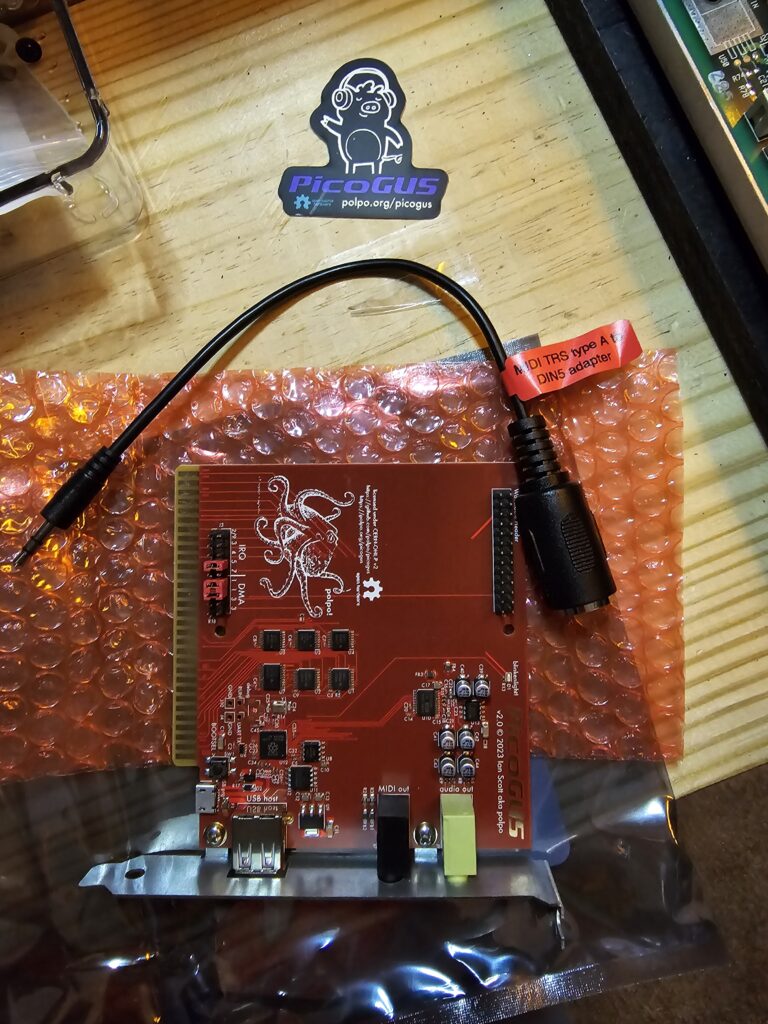
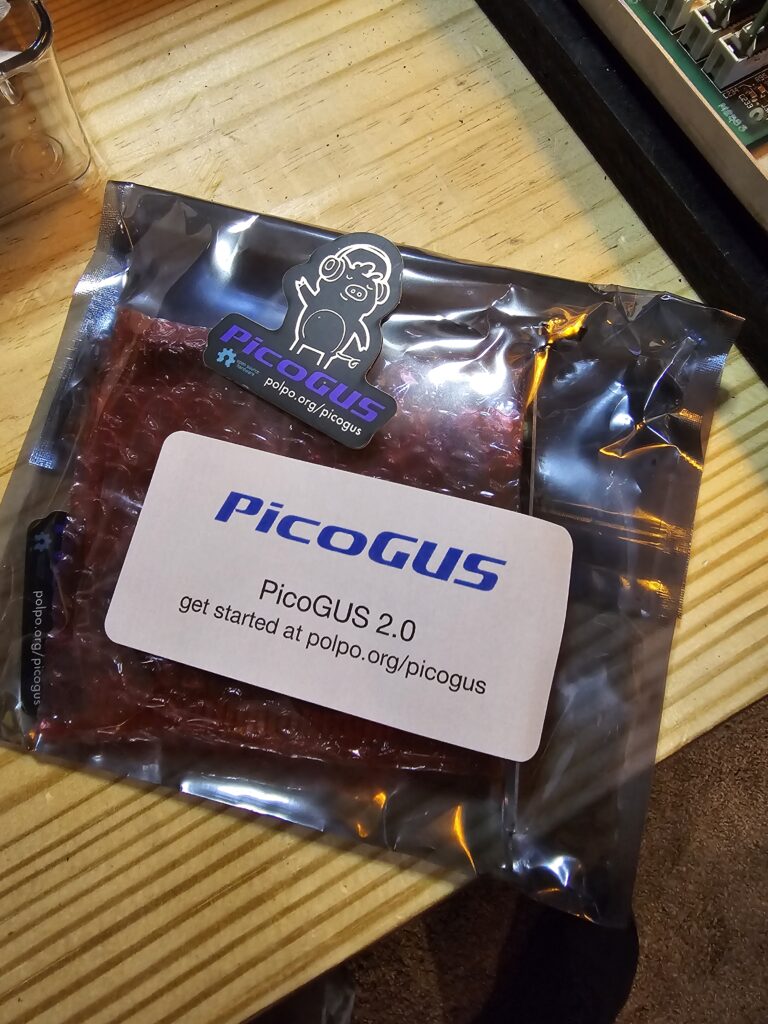
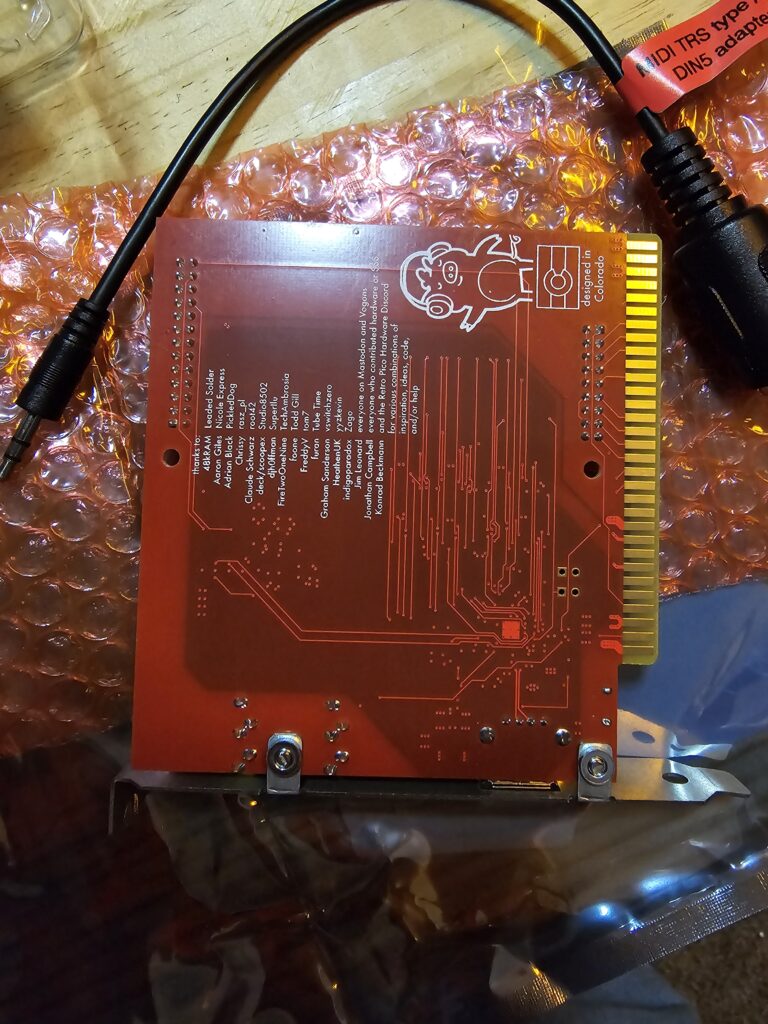
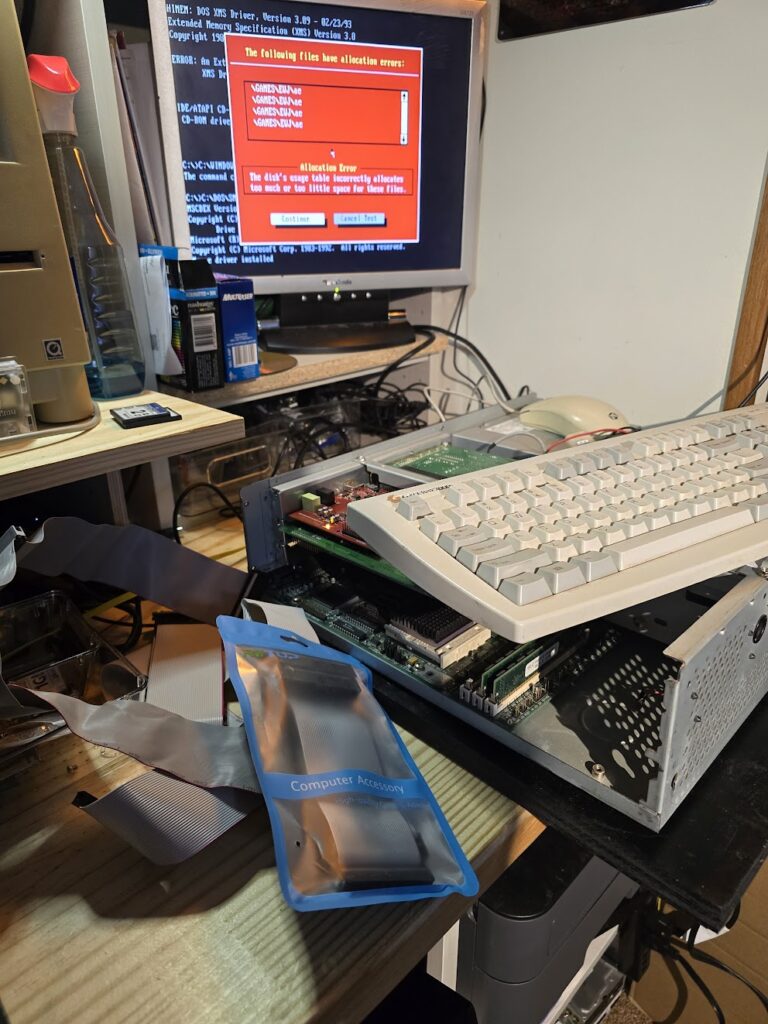
Then in trying to get the Gotek working and mounted, it crapped out on me, so I ordered a nicer Gotek. I highly recommend you spend the few extra bucks for the newer models with knob and nicer LCD. Also, I needed an extension cable for the IDE Drives – CD & CF Reader. Well, I ordered a longer cable and regretfully it still had the two drives close together on it rather than giving me more cable length in that area. So there are lots of failures along the way, sometimes wasted money as well if you buy the wrong thing such as the wrong kind of IDE Cable, wrong CF Card Reader, etc. Please understand here that in ordering parts and waiting, sometimes weeks go by while waiting for them.
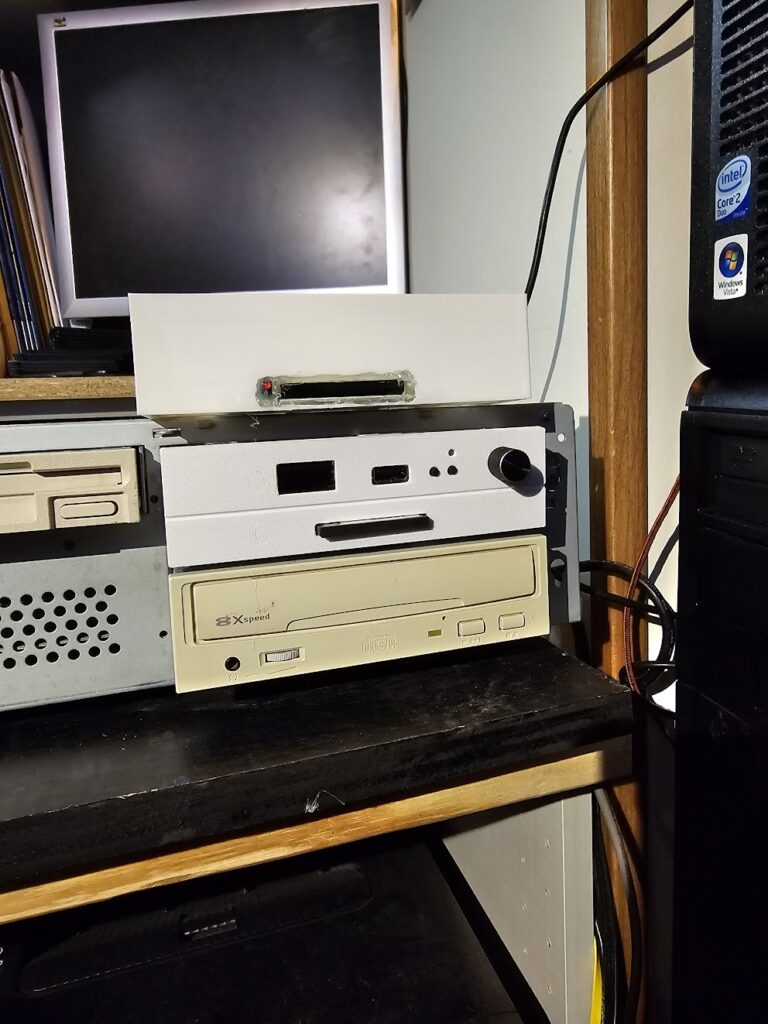
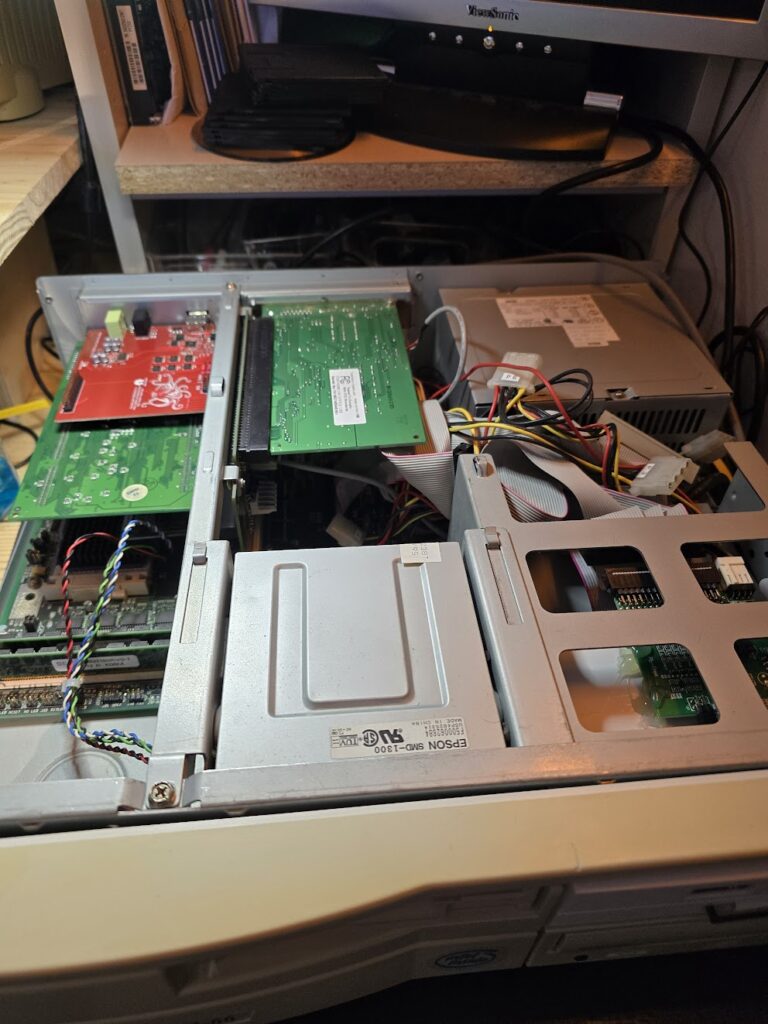
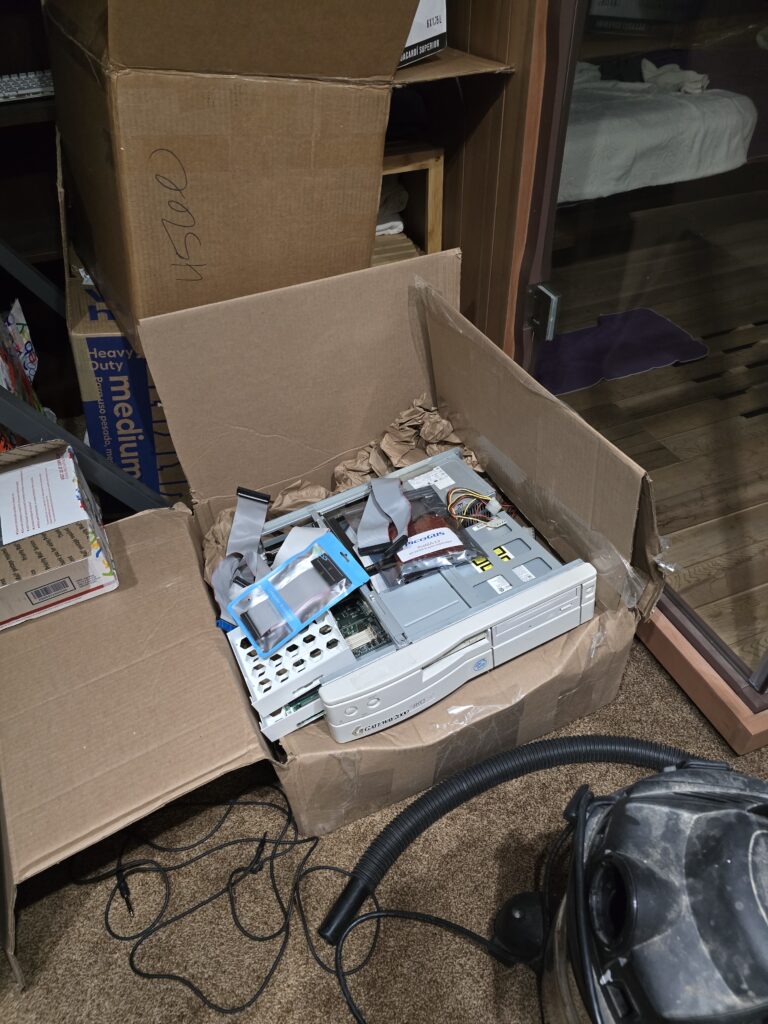
I think in a short sloppy way this brings us current to where I am at present. One is over in a box, hood off, some cables removed.
So here is where they are heading right now;
- Gateway Motherboard 486 DX2/66 – 8MB RAM Manufactures 1995
- On board Cirus Logic VGA
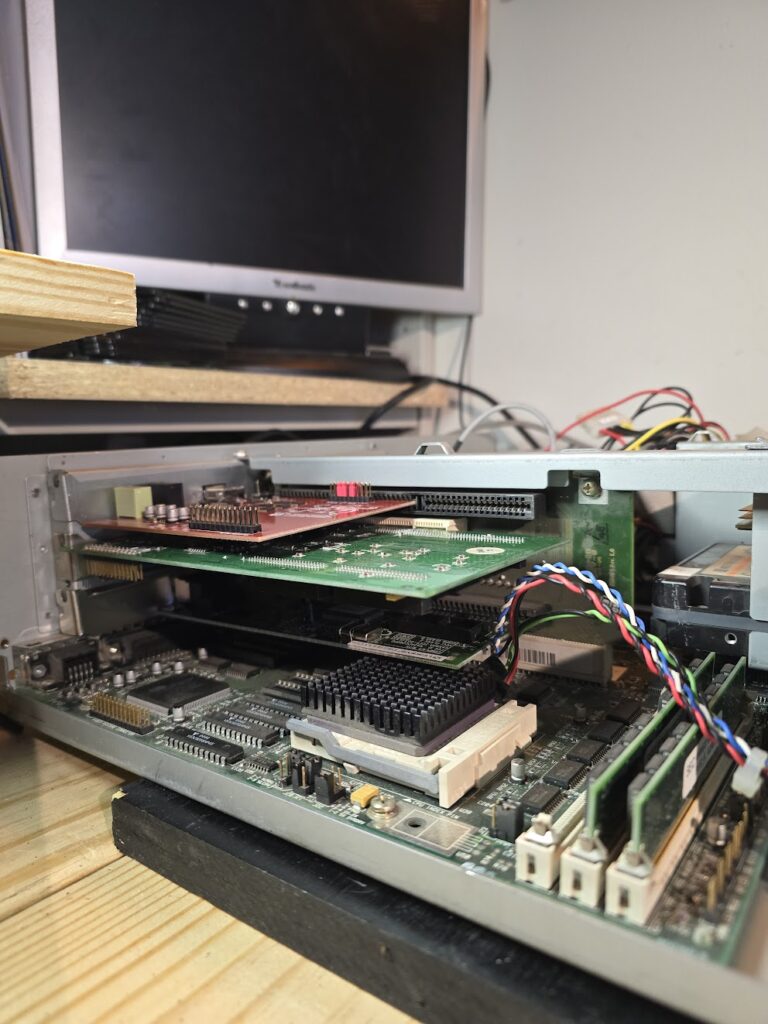
- Diamond Stealth 64 Video VRAM 2 S3 Vision968 PCI Video Card Rev 07B
- 52X CD-Rom Drive
- Gateway 3 1/2 1.4MB FD – not active
- Physical 500MB WD HD – not connected
- 2GB CF HD (Card Included and Configured) /GoTek FD Drive Emulator Combo 5 1/4 Bay
- PicoGUS Gravis Ultra Sound Clone Board ISA
- SB Live 16 PCI
- 10/100 Ethernet Card ISA
- Copy of Original Gateway CD with WFW 3.11
- DOS 6.22
Some DOS Games and Utilities have been loaded onto the CF 2GB Card. I may add a wave table daughterboard to the PicoGUS for fun.
The front cover is getting retro brightening treatment as I type, however, I am not holding out for high-hopes of it working well. I really would like to get it white again and then treat it with some anti-yellowing spray if possible. You can see I have some other parts undergoing brightening.

Decide if I need https://github.com/leecher1337/ntvdmx64/issues/40
With the Dual Sound cards, GoTek Drive and 2GB space on the CF Card this will make a really fun retro machine and will sit nicely under a Monitor.
Place holder for completed build.
This turned out to be a sweet 486 build! The case cleaned up really nice, a little baking soda scrub really put the finishing touches on the final retro brightening! No marks remain on the front cover! I suppose the only thing I might be able to do better is get a CF Card/Gotek beige printed face plate bay.
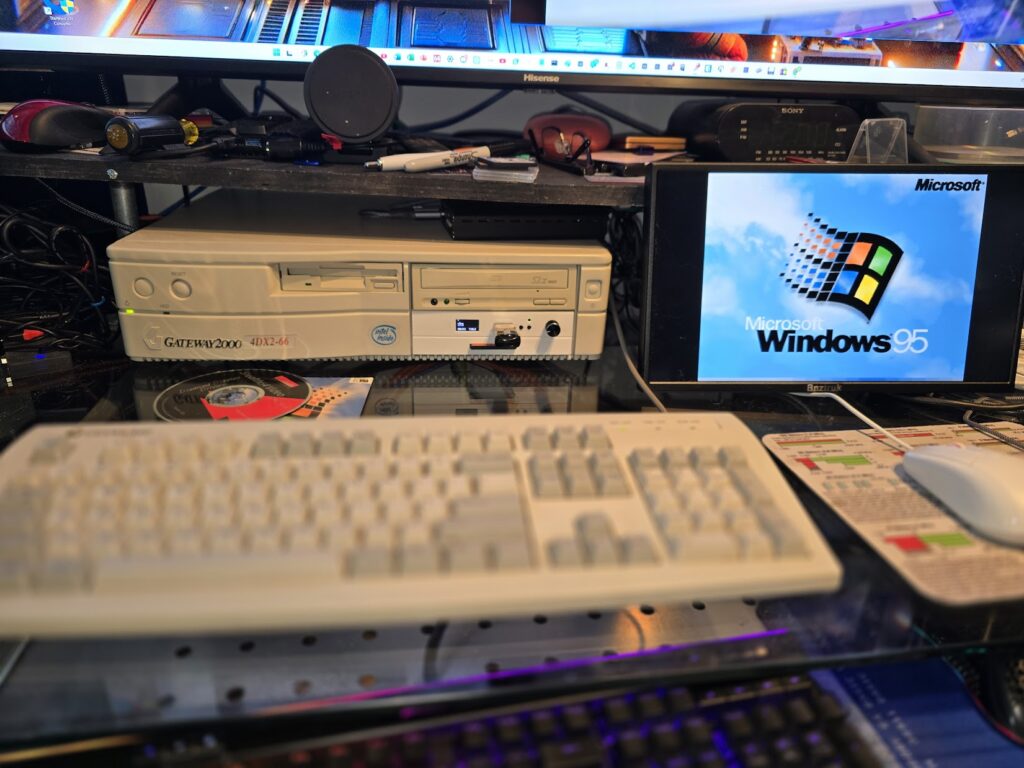
I went with a PicoGus and SB Vibra ISA Card and the Diamond Video. This machine just cant be sold, maybe the other! lol. But I think I might do a cow pattern on the outer shell cases to make it truly novel and a bit unique.
I have a cool MT32 PI Device coming that will be fun to use with this system! I acquired an old realistic stereo receiver to use with all this, it all sound fabulous on some nice PC Speakers I have. I credit this project getting me back into my passion for music. I plan some day when I get the VGA Output capturing correctly to make some videos on this setup! Hence the small monitor in the right side, I want this to be capturable on my large monitor so I can show you all the output and listen to the sound yourselves.
So where I started with a vision changed, however, projects like this always do end up a bit different than where they started. No added controller cards, no fancy sound cards other than the PicoGUS. Those will go in a grands grand 486 I am planning. The other Gateway will likely go up for sell.
I want to thank all who helped, its been a really fun journey relearning what i used to know so well, overcoming challenges of days past, restoring a really nice vintage PC, and making new friends along the way!
Lets call this build a wrap for now! Stay tuned for my other builds!
E
