Amiga Pi

Welcome to my AmigaPi page!
AmigaPi is a collection of menu driven scripts that ease the installation of Pi Package and Configuration of Raspberry Pi Amiga related hardware and software based solutions.
It was originally born from seeing the trouble new users of the A314 were experiencing when trying to install the required packages and configuration changes for their A314. Regretfully this wasn’t embraced well by some in that community and I was banished from the Discord channel. That’s ok, these things happen and friends within the community continue to keep me updated. I have created a Discord channel for anyone interested in collaborating, all the code is readily visible for your viewing pleasure. https://discord.gg/FtFKh5mR
PROJECT GOALS
- Help enable users more easily enjoy the new capabilities the Raspberry Pi can bring.
- Simplify Installs by developing scripts that build SD Card Images from their original sources.
- Add new capabilities as inspired and needed.
- Share with anyone that would like to benefit.
- Support a variety of Amiga related installs for different boards and emulations.
- Fully transparent scripting – anyone can inspect them prior to running them
- Scripted updates to the required config file changes – no need to nano them!
- Avoid bait and switch instructions by providing a known process.
AmigaPi Control Panel
The AmigaPi Control Panel is a powerful tool that allows you to configure and manage your AmigaPi. With the AmigaPi Control Panel, you can:
Basic Pi Functions
- Install and Maintain AmigaPi Menu System
- Expand your SD Card to use its full capacity
- Expand your swap file
- Manage Users and User Security
- Scan for bad actors on your Pi
- Configure your firewall
- Overclock your Pi
- Get system info
- Update your Pi
- Reboot your Pi
For the A314 CPLD
- Install the A314 board – both the Niklas and Eriond Versions
- Flash the A314 board
- Test the A314 board
- Setup A314 Sound Drivers
- Setup Docker
- Setup A314 Spotify
Planned for PiStorm
- Build a Testing SD Card
Adhoc Emulation
- Build a Multi Retro SD Image
The AmigaPi Control Panel is a must-have for anyone who wants to get the most out of their AmigaPi. Download it today and start taking control of your AmigaPi!
Disclaimers:
This is under rapid development, using an agile method, meaning while I test what I release, it starts off very crude and then gets cleaned up after it’s fully working. This means new scripts are being debugged in real time. I try to indicate this on the menus. The scripts will eventually be packaged and available via secure download.
There is of course a risk things will change over time. The effectiveness of this tool will last as long as it lasts and for those functions the developers are cooperative I am happy to continue to work with them to keep scripts updated.
Ready set go!
If you have already built your card for Pi OS lite 32, you can skip down past this next part.
What will be needed?
Assembled and working a314 Board/Pi Zer0 2W for A314 CPL
and or Assembled and working PiStormLite32 Board/Pi 3x for PiStorm32 A1200
SD Card – 32GB or larger preferred
Pi OS Imager Software
Putty SSH Software – I like Solar Putty
How to install – Software Installation
Software needs to be built and installed for both the Raspberry Pi side and the Amiga side.
Raspberry Pi
To build and install on the Pi side, do the following:
- Get the imager application here: https://www.raspberrypi.com/software/
- Install the application.
- Select PI OS 32 Light from the Choose OS Other Menu
- Insert a Micro SD Card into your PC and use Choose Storage to select it for the target install.
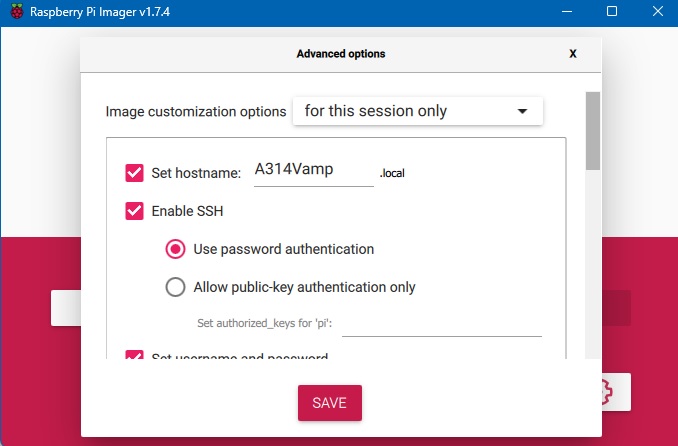
- Click on the gear in the bottom left corner and enable SSH
- Fill out the username as pi [install will not work if you use another username] with Password [whatever you will remember]
- Enable WIFI
- Select your proper country
- Select your correct time zone
- Choose Write on the Application
- Remove the Card from PC
- You now have a card that will boot the pi and you can either access the Pi through SSH
- Download and install Solar-PuTTY for Windows – Free SSH Download | SolarWinds
Putty to your Pi
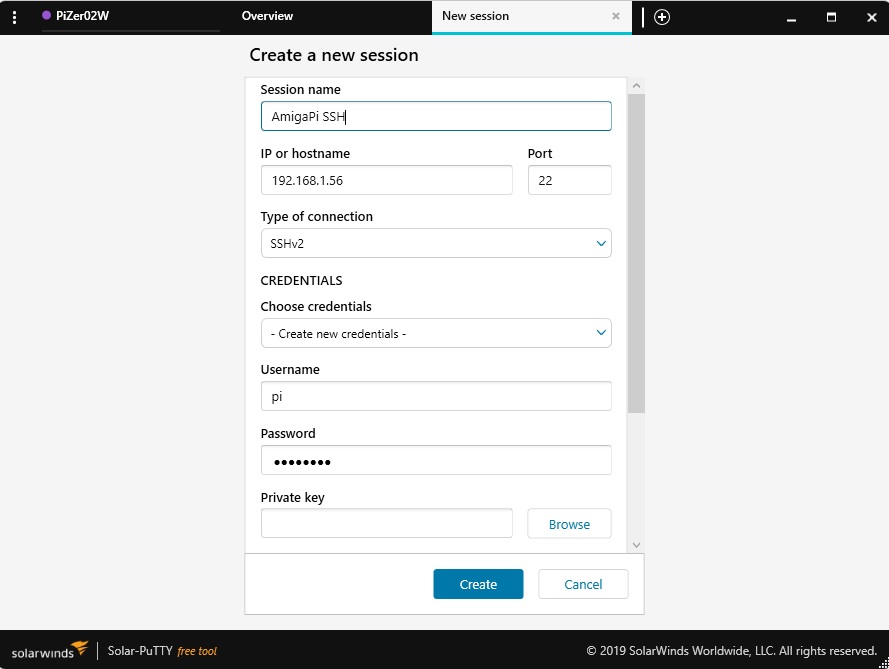
Launch Putty and login to your Pi – you can set up your putty client to login for you if you like. Give your Session a name, get the IP to your Pi (do a local login if needed and type ifconfig) or use any network utility that allows you to see devices and their Ips on your network. Fing is a nice little tool if you like.
If you create the credentials and assign them in SolarPutty it will login for you which is very nice. Just use pi as username and whatever password you created for it.
Copy and paste all three lines into putty after login in. Press enter and the install will launch.
sudo wget https://everstar.com/AmigaPi/prepAmigaPi.sh
sudo chmod +x prepAmigaPi.sh
sudo ./prepAmigaPi.sh
Press enter again to run prepAmigaPi.sh, this will get the rest of the scripts, put them in a directory named AmigaPi and give them execute permission and update your Pi.
When you Pi Reboots you will get a menu like this;
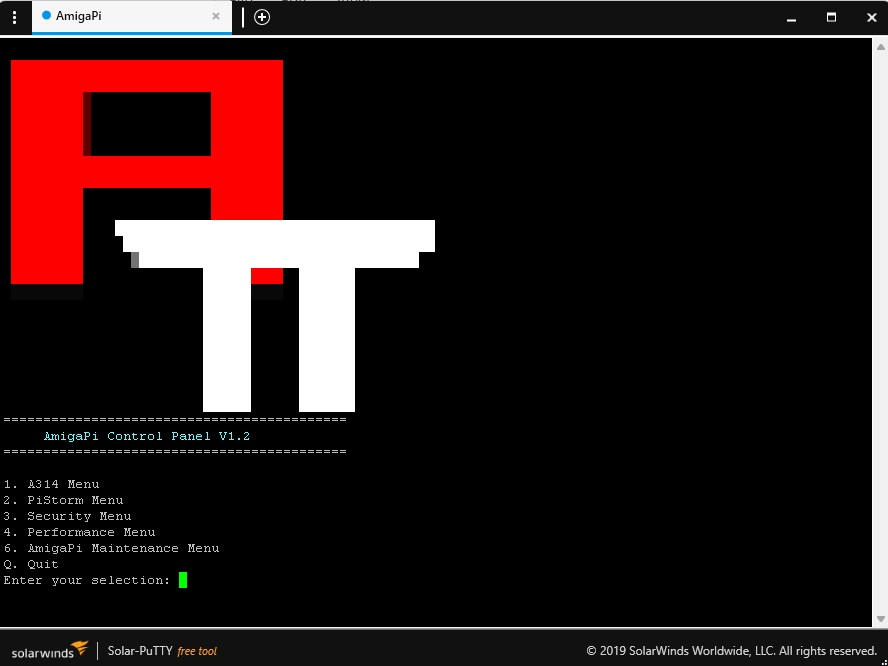
The menu system lets you do all kinds of things and I will now start work on the PiStorm side while users use/test and report any issues they find.
Once you have a card working as you like, it will be a good time to make a backup of your SD Card now. Use SDImager, Etcher, ect to create and store a copy away. I recommend you get the PI0: and networking working first!
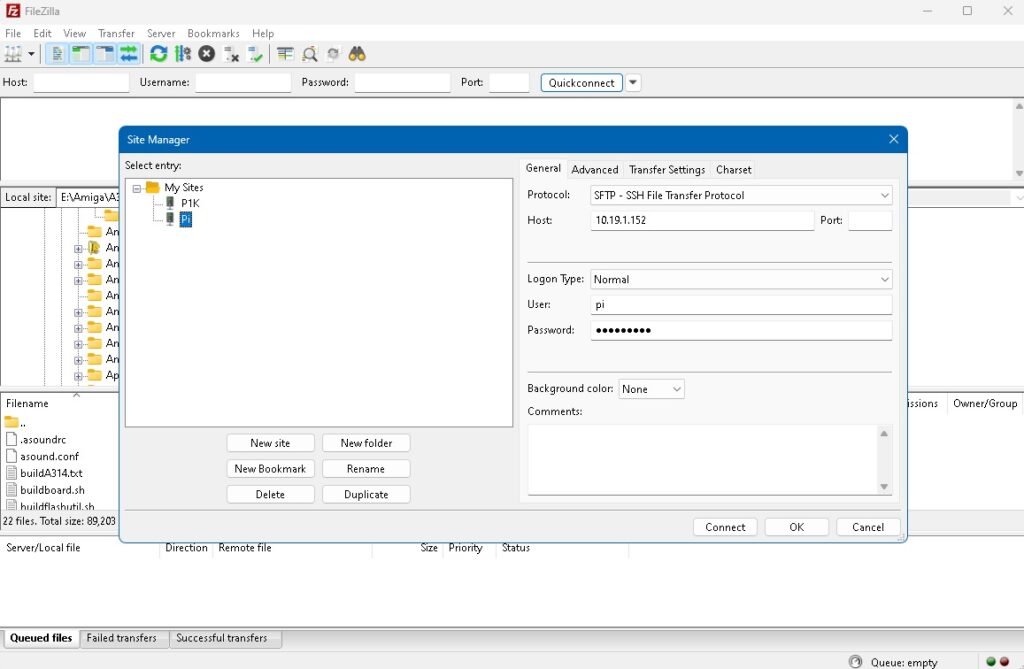
As a reminder, you don’t have to setup a FTP server to move files back and forth between your PC and Amiga. Filezilla or any other SSH File Transfer client will work just fine and allow you to keep your FTP port closed.
Be careful with the AV Clam Client, it might slow things down to an unacceptable speed. You can always run an AV client when needed – IE after updating files on your Pi.
I hope you enjoy and if you would like to see additional retro related scripts added, drop me a line and I will see what I can do!
If you are looking for additional instructions on how to use some of the AmigaPi functional for setups, look on this site under Amiga Resources.
Enjoy!